# Booking Kiosk
The Kahu Booking Kiosk is designed to be simple and intuitive. Swipe a card, tap a desk, and press confirm. This section goes through all the steps and includes screenshots of what to expect on the kiosk screen.
# Overview
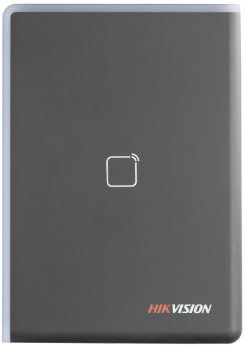
At various locations in the building there will be Desk Booking Kiosks. These consist of a large touchscreen display and a card reader.
The screen will display a floorplan, and each desk can be in one of three states; this is indicated by the colour of the desk on the floorplan. The states are as follows:
| State | Colour | Description |
|---|---|---|
| Available | Green | The desk is available and can be booked |
| Booked | Orange | The desk is booked |
| Occupied | Red | The desk is in use* |
*occupied state is only available for systems with desk sensors installed
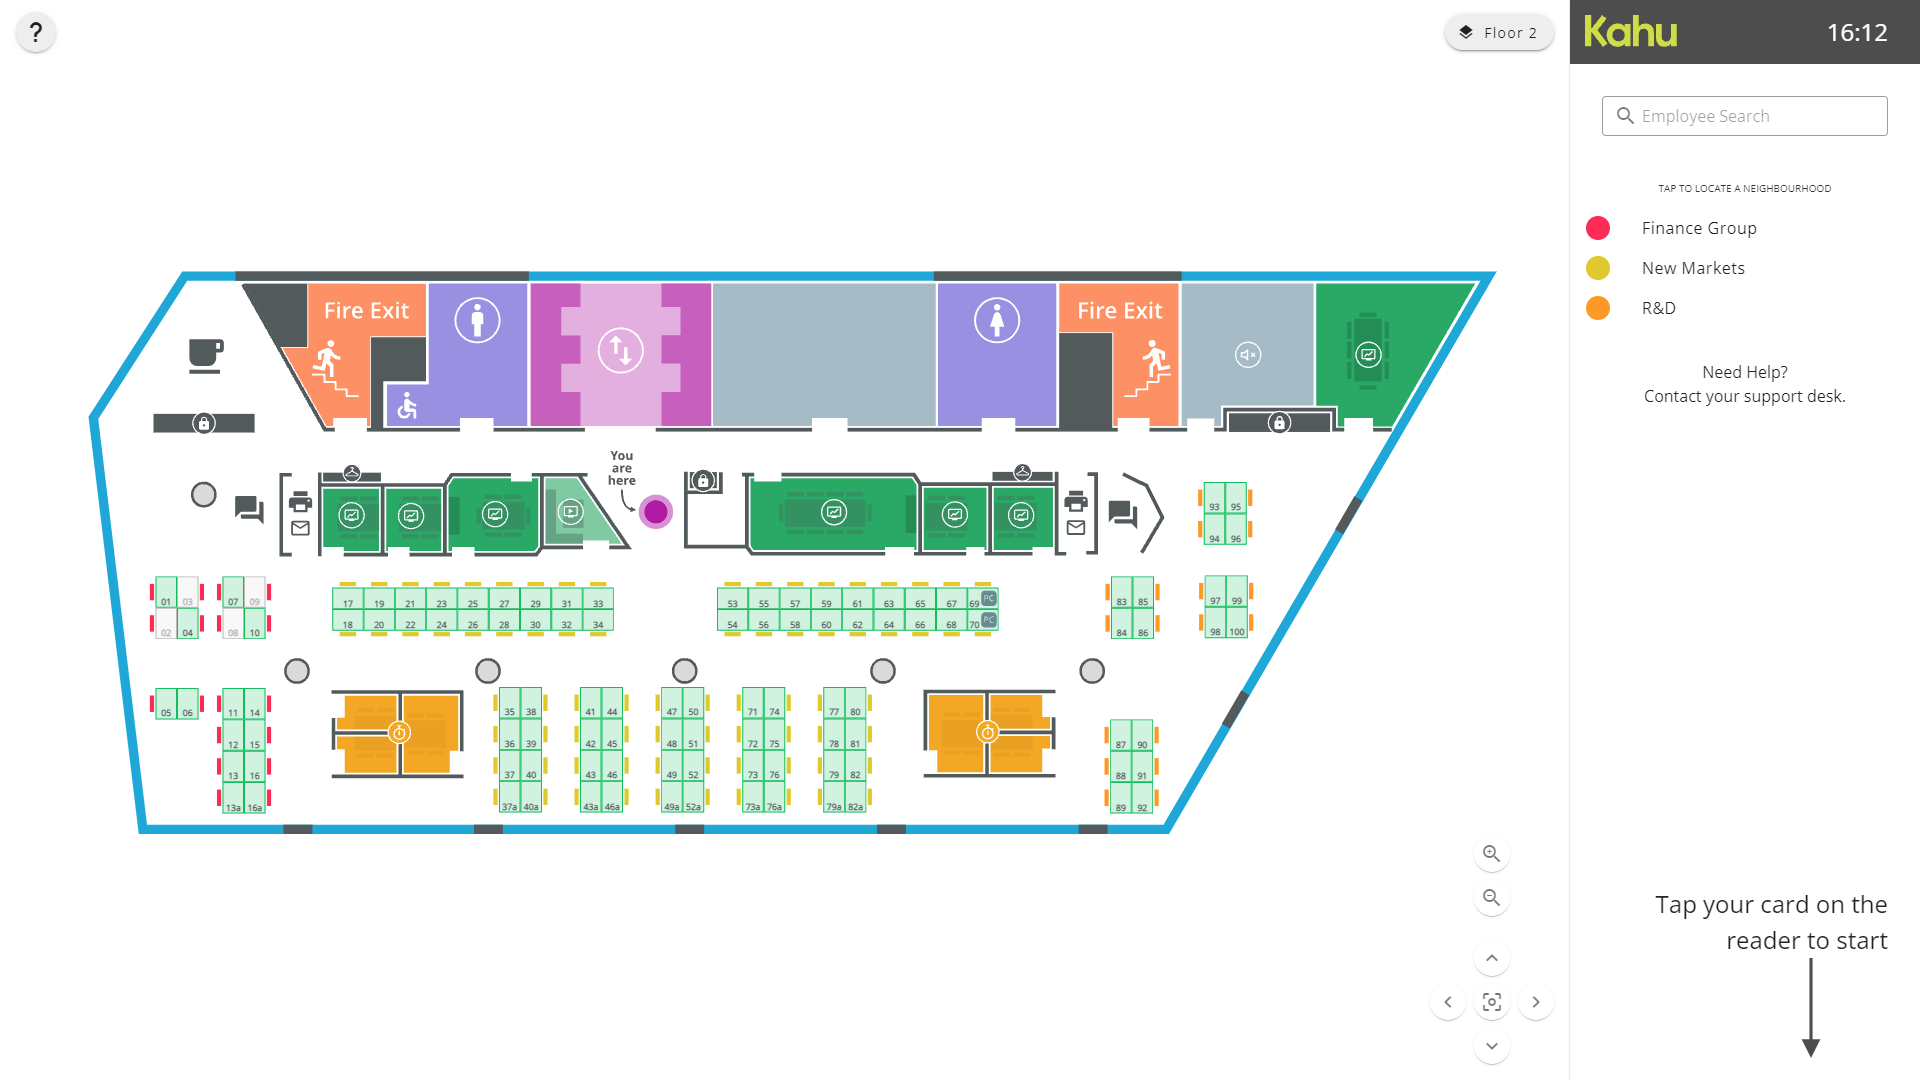
# Neighbourhoods
A key will be displayed which shows any neighbourhoods set up on the system. The key lists each neighbourhood and its associated colour. Tapping the neighbourhood line will zoom in and highlight the set of desks in that neighbourhood. If configured, the desks in a neighbourhood are denoted by the chair colour. For example, the desks shown below are in the Finance Group neighbourhood.


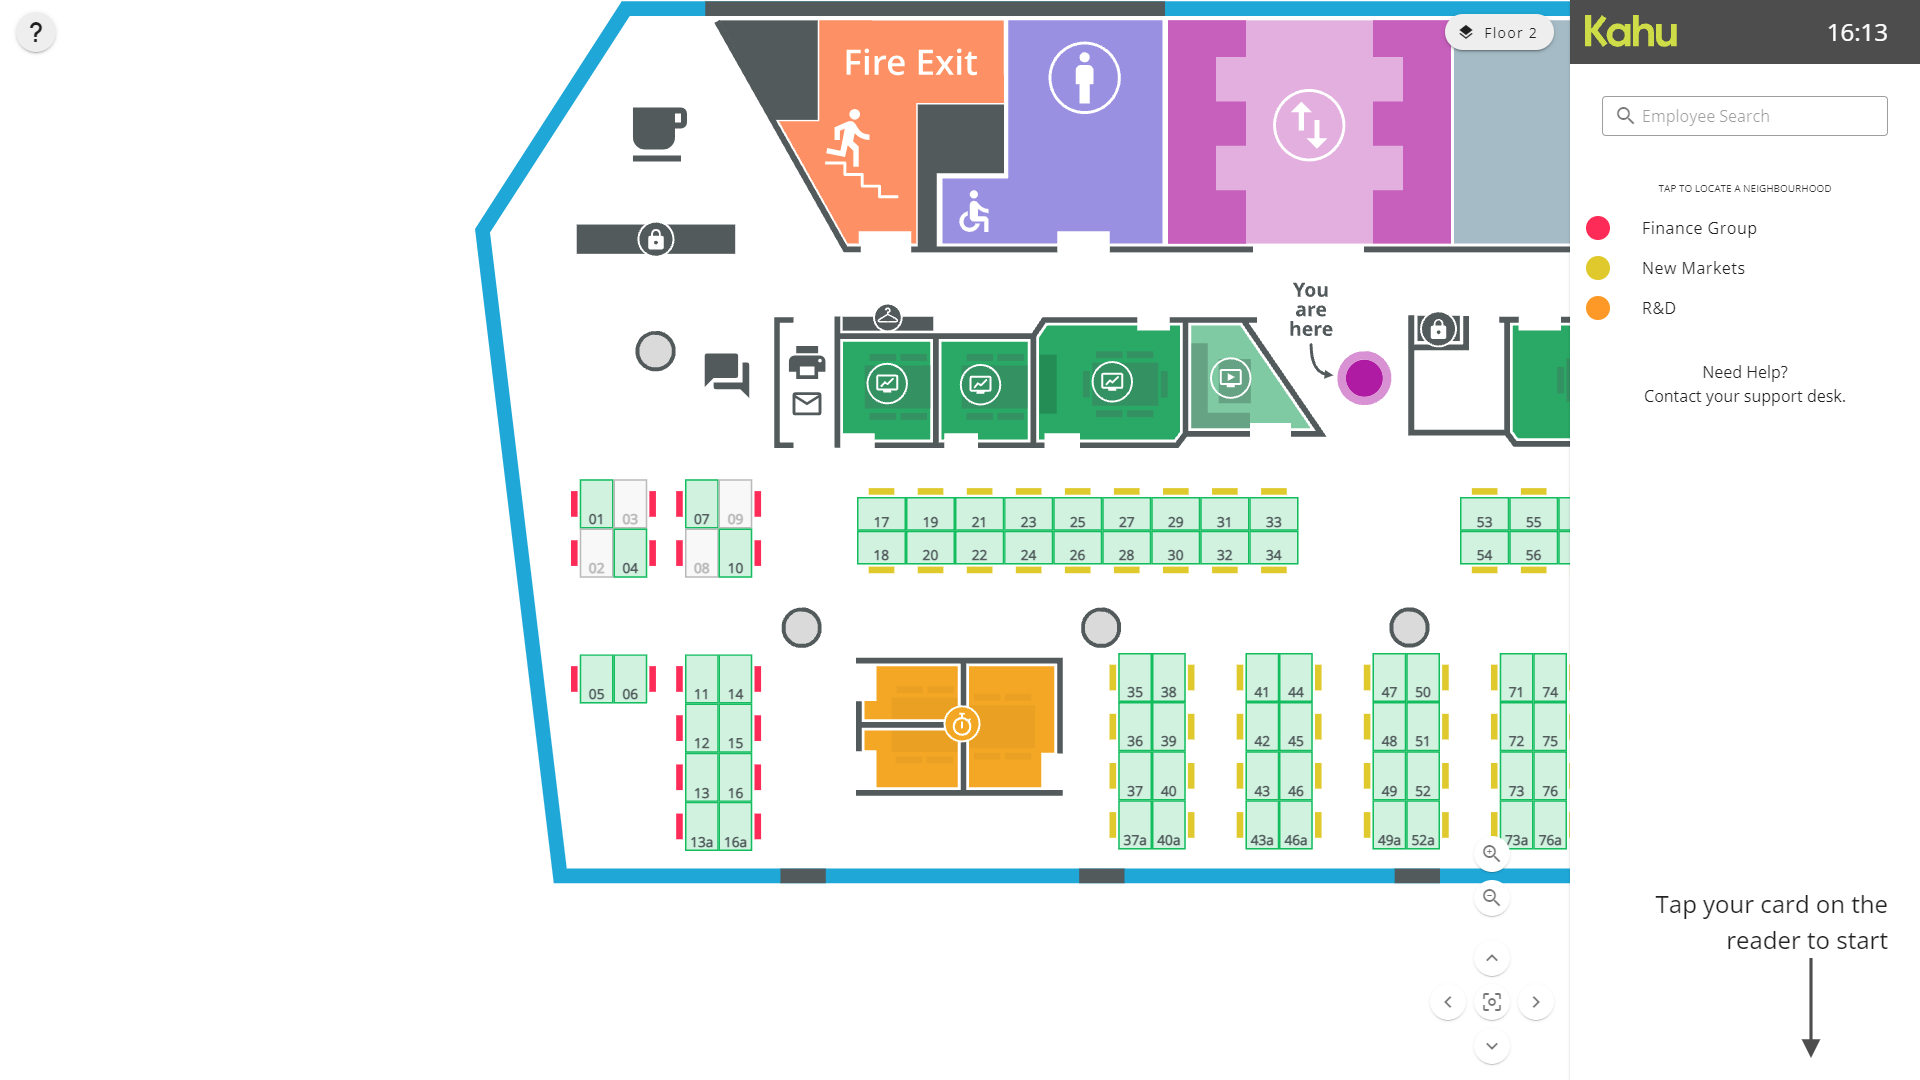
# Navigation
The display will by default show the floor you are on. You can also view other floors In your building to check desk availability. Tap the floor selector in the top right-hand corner to see a list of floors which you can tap to view.

The display view can be moved around with gestures or with the navigation buttons in the bottom-right hand corner. This allows you to zoom in on a bank of desks. The display will reset after ~15 seconds of inactivity. To reset the view manually tap the reset button:
# Booking a Desk
To book a desk, scan your card on the card reader. The location of the card reader is indicated on the display. When your card is successfully scanned the reader will beep to acknowledge the scan. The display will then show a greeting and your name. If your department has an allocated neighbourhood, the desks in that neighbourhood will be highlighted. However, any desk can be booked. Tap the desk you would like to book, and tap Confirm. Your desk will now power on and be ready for use.
Depending on your company settings desk bookings may be for a limited period of time (usually until the end of the day).
# Book a Desk
- Scan your card
- Tap your desk
- Tap Confirm
# Releasing your Desk
- Scan your card
- Tap Release
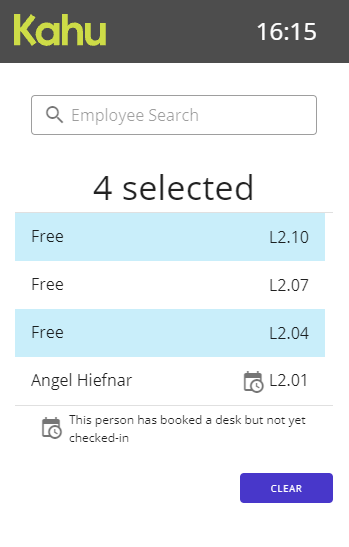
# Searching
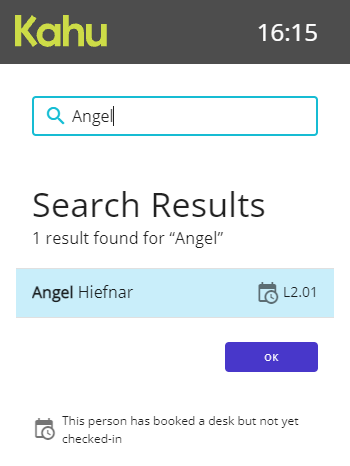
You can find which desk someone has booked; tap the search box and use the on-screen keyboard to type their name, search results will show as you type.
Alternatively, you can tap on any number of desks and see who they are booked by.